Populate Images in PIM UK
System: PIM
Access needed: PIM editor
Before you Start
Log into PIM
Instructions:
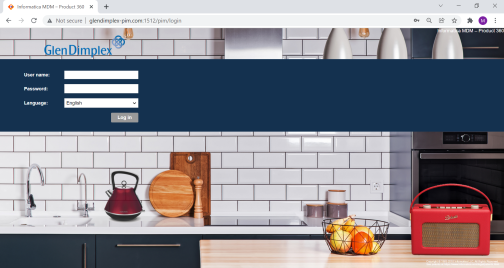
- Login to PIM with your credentials

Step 1: First select Media from the left menu and then click on the black Arrow under Library and select the folder where you want to add the image.
Then use the + sign at the top to add the images from your local file directory.
Note: Make sure to use the correct name of the image to be added. Please follow the Naming Convention.
Step 2: Once you have added the image you'll see a Document Identifier under the Technical Information tab as shown in the image. Just keep a note of it as you'll need it later.
Step 3: Now select Search from the left and select the product you want to add the image for. Then select the Assets Tab where you can edit and maintain all the media assets in line with the naming convention.
N.B. It's vital that your product image file names contain no spaces or strange characters. Please adopt the naming convention.
Step 4: Click the + icon and fill in the details.
- For the Hero image select 'Product Web Image (Hero)'.
- For the Card image select 'Product Web Image (PLP)'.
- For the Supporting images select 'Product Web Image'.
Note: Hero image is displayed on the PDP page along with the supporting images and Card image is displayed on a PLP page.
The sequence would be 1 for both the Card and Hero image and also the 1st Supporting image would be 1 and the following images would be 2,3,4 etc.
Then paste the 'Document Identifier' which we got during the time we had uploaded the image.
- After this is complete and only when the business wishes the product to be available on the Website the Business should ask the PIM Admin to add the Products to the WEB Assortment.
- The PIM Admin then adds the Articles to the Web Assortment for that business. The Web Assortment flows from the PIM to Commerce Tool every 3 Hours.
- The Business should then Check the visibility of these Articles in Commerce Tools. Check whether the Prices and Inventory Levels are feeding directly from the ERP.
- If not, the Business should Make a Request to the ERP Admin for the Prices and Inventory for these specific Articles to be included in the ERP to Commerce tools Feed.
N.B. It's vital that your product image file names contain "No spaces" or Non ASCII characters (this means Images file names need to "Url encoded") .
Please do not put in SPACES in your File Names. If you do you will break the PIM.
Avoid Long product image file names.
Avoid Characters like / -., etc . Please keep your File names Short, all lower case,
Ideally Start your file name with your Model Number.
Please adopt the naming convention.
By adopting a constant rigid file naming convention you will make it feasible{*} for the PIM to auto Assign Images to articles.
*needs to be planned.
Please Note.
Product Photos Product Photos in the PIM Should only be assigned in the Assets TAB Under the English Language. (Regardless of your Item Number and target Marketplace.)
There are many Types of images and if you do not see the Product Web image Type in the dropdown List the free type it in and it will appear.
Currently only three image types are in use.
- Product Web Image PLP
- Product Web Image Hero
- Product Web Image